
How to update the MicroBox dongle
Step 1:
Connect the MicroBox dongle to the power, after that connect the serial port from the MicroBox to the serial port, in your PC.
Step 2:
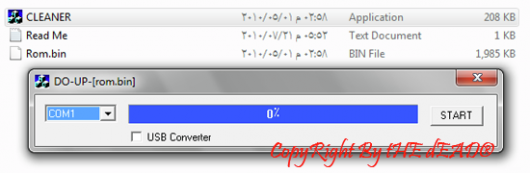
- Download the cleaner software for the downloads section, then open the cleaner.exe file.
Step 3:
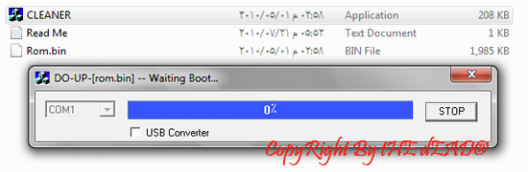
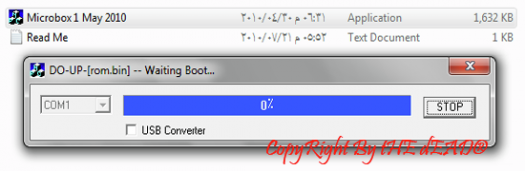
- After you have the program opened click START button, then you should see that a
"Waiting Boot..." is showing up near the software title.
"Waiting Boot..." is showing up near the software title.
Step 4:
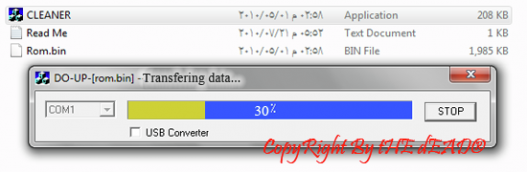
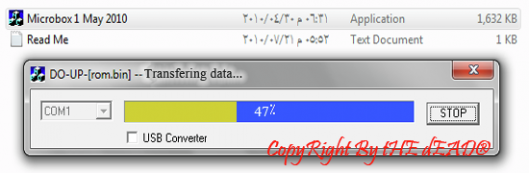
- Now unplug the power cable from the dongle for 3 seconds then plug it again, into the Dongle, after that you should be able to see the progress bar increasing and the cleaning process is started.
Step 5:
- Once the cleaning process reaches 100%, you are good so far, unplug it again from the power for 3 seconds then plug it again.
Step 6:
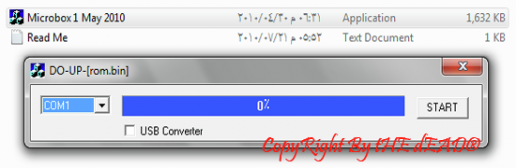
- Now download the software that you want to install from the site, then open the file.
Step 7:
- Open the .exe file, which is the software it self.
Step 8:
- After you have the program opened click START button, then you should see that a
"Waiting Boot..." is showing up near the software title.
"Waiting Boot..." is showing up near the software title.
Step 9:
- Now unplug the power cable from the dongle for 3 seconds then plug it again, into the Dongle, after that you should be able to see the progress bar increasing and the transferring process is started.
Step 10:
- Once the transfering process reaches 100%, you are good so far, unplug it again from the power for 3 seconds then plug it again, and by this you have the software installed at your MicroBox Dongle.
How to update the Timer dongle
Step 1:
Link PC to STB with RS-232 Cable.
Step 2:
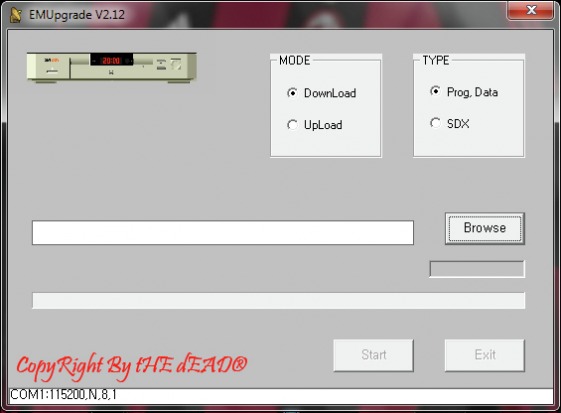
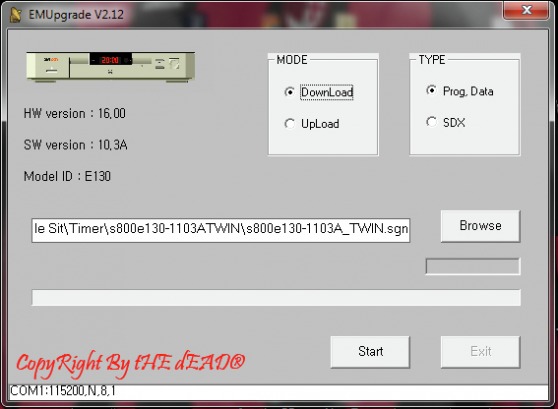
Run eMUpgrade Program.

Step 3:
Check “ Download “
Step 4:
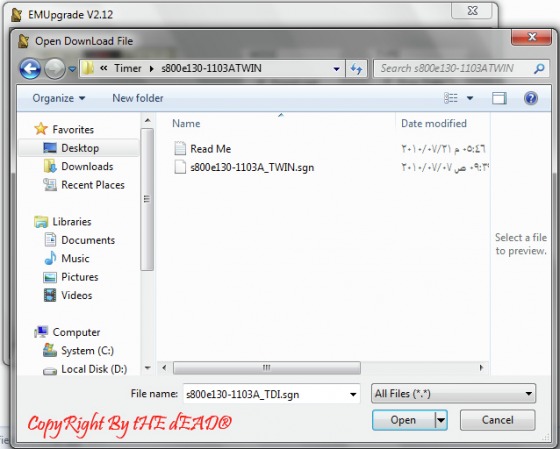
Browse the file Location.
Step 5:
Push “ Start “.
Step 6:
Turn off the STB and turn on.
Step 7:
STB will download the updated S/W from PC.
